Wine enthusiasts and connoisseurs understand the importance of creating the perfect environment to preserve and age their prized collections.
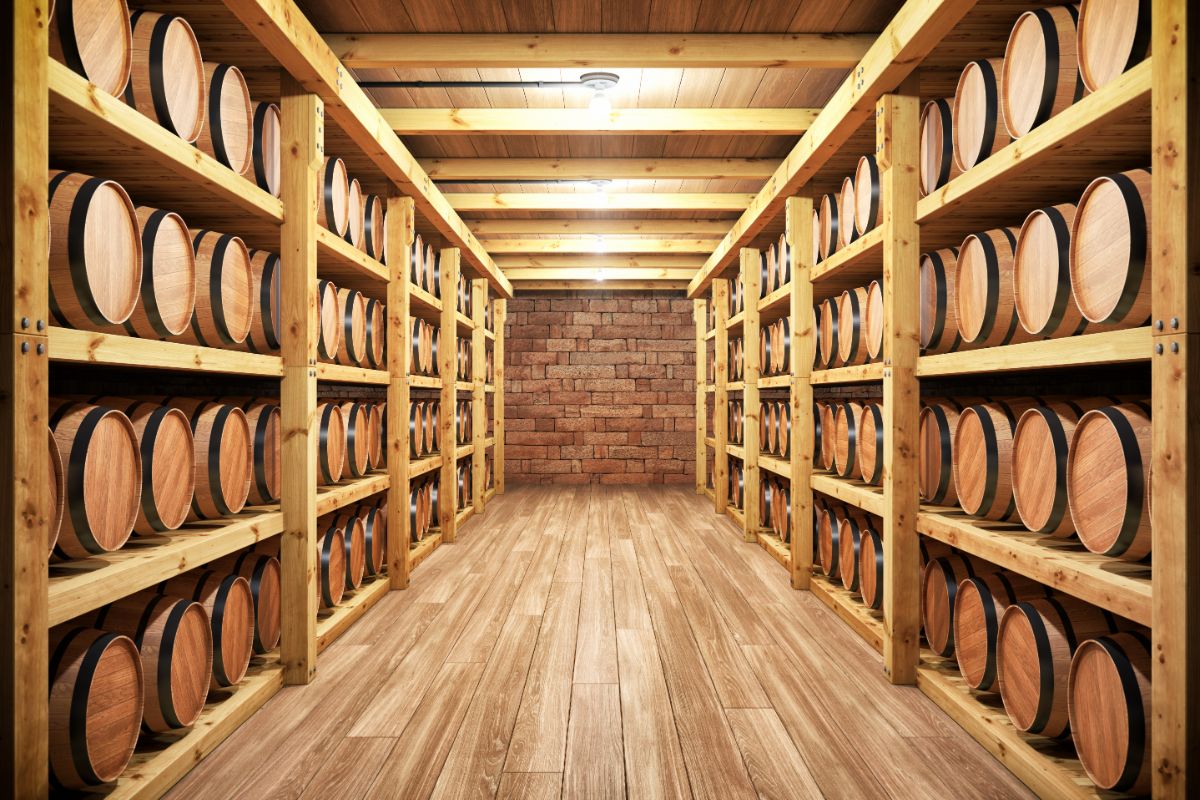
One of the most effective ways to store wine bottles to ensure that they keep fresh and retain their value is to house them in a wine cellar.
Although wine cellars can be installed by experts, you can also build your own. For many wine enthusiasts, building a wine cellar from scratch is a long-held dream.
If you want to build your own wine cellar but don’t know where to start, then this article is for you.
In this guide, we will explain the essential steps and considerations involved in constructing a wine cellar so that it meets your storage needs and showcases wines (Also check out Mold Cork: How Dangerous Is It?).
Whether you have a spacious basement or a small designated area, we will provide you with practical advice, tips, and tricks to help you create a wine cellar that suits you.
Step 1 – Check If A Permit Is Needed
Whether you will need a permit for your wine cellar depends on the regulations in your area. Some people may need to get a permit whereas others will not.
Before you start any building work, make sure you check the rules in your state and city.
Step 2 – Chose The Location
Although we’re calling this a wine cellar, it doesn’t necessarily mean that it will be in the basement of your home.
There are many places where you can build a wine cellar and it depends on the layout of your home as to which space is the best for you.
Typically places for wine cellars include:
- Basement
- Hall closet
- Guest room
- Pantry
- Under the stairs
- Dining room
To choose the best space, you will need to consider several factors. You will need a space that is cool and dry and is isolated from natural light.
You should be able to control the temperature, it should have no unwanted smells, and not be affected by any vibrations.
The most common place for wine cellars is the basement because subterranean levels are naturally cooler and lacking in light.
They’re easier to isolate and control the atmosphere. If you don’t have a basement or it isn’t practical to use, however, try one of our other suggestions.
Step 3 – Prepare The Walls And Ceiling
Once you’ve chosen your space, your first step is to prepare your walls.
You should begin by furring your walls. This means installing strips of wood so that you can prevent dampness and make space for framing.
Framing refers to adding space to the walls so that insulation can be added. For the walls, your best option is 2 x 6 framing lumber, and opt for 2 x 10 lumber for the ceilings.
With the framing in place, you can add the insulation. We recommend closed cell foam insulation as this is best equipped to deal with moisture leaks. It will also help to control the levels of humidity in your cellar.
Step 4 – Drywall
Your wine cellar will be an area of high humidity so you need to prepare for this by installing some water-resistant drywall.
This is known as green board and is easy to find as it’s commonly used in bathroom and kitchen renovations.
Make sure that you cut holes for electrical outlets and ductwork and that you also seal the holes so everything becomes airtight.
Step 5 – Cellar Doors
Regardless of where you have placed your wine cellar, installing good doors is essential. With wine cellars that are in closets or the dining room, you may be tempted to use glass so that your wine collection is on display.
We would advise against using glass as it can allow light to enter your wine cellar.
If you’re insistent on using glass, however, then make sure you choose glass that is UV-protected, tempered, and at least half an inch thick. Ideally, look for framed glass that is dual-paned.
The absolute best doors you can buy for a wine cellar are doors that are specifically designed for this purpose.
These can have a hefty price tag so if your budget won’t extend that far, you do have other options. Doors that are designed for exterior use will be your best choice as they will be solid and provide better insulation.
Your wine cellar door should seal your cellar when it is closed. You should be able to feel some air resistance when the door is opened and closed. Plus, the door should always open into the cellar and not open outwards.
Step 6 – Finish The Walls
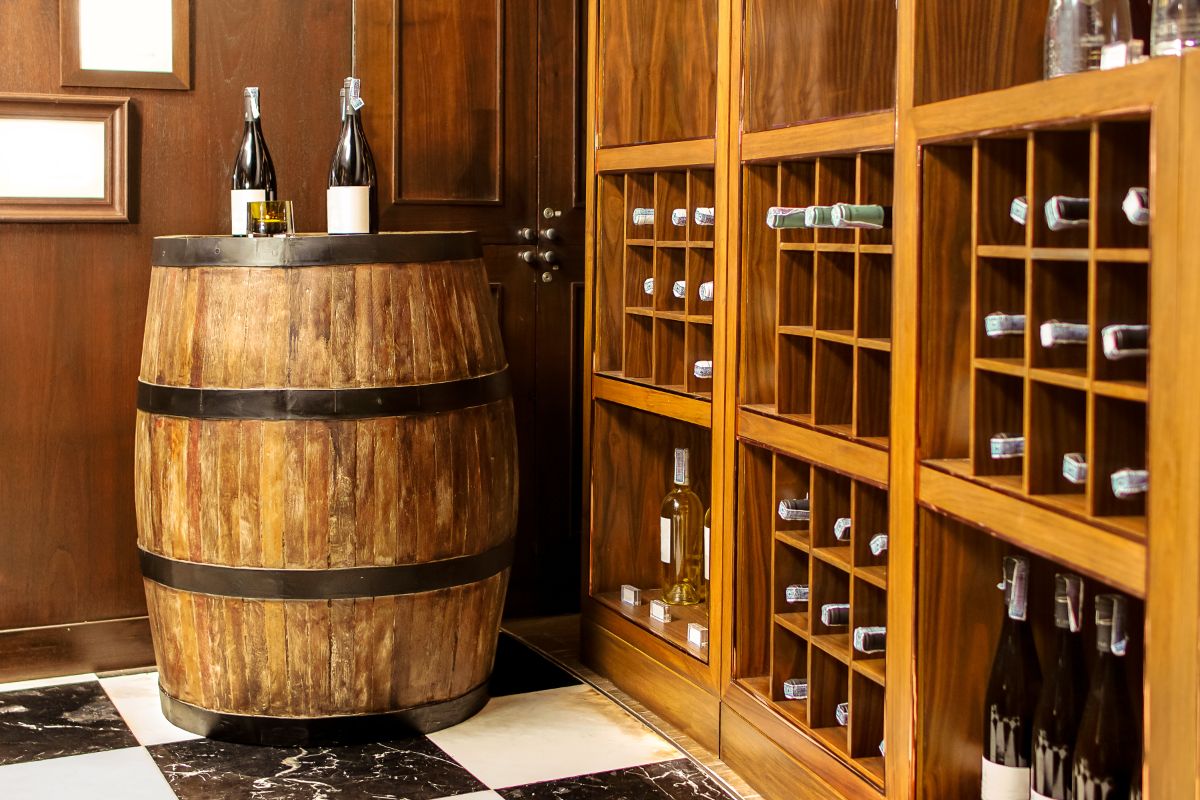
With the furring, framing, insulation, and drywall all completed, you can now think about the final look of your wall. There are many different finishes that you can opt for so consider how you want your wine cellar to look.
Many people opt for a natural wood finish, but brick, tile, and rock (both real and fake) also make for aesthetically pleasing finishes.
Whatever you choose, make sure that it is resistant to humidity and won’t be damaged by a humid atmosphere.
Step 7 – Seal The Floor
Sealing your floor is important as it is another area that can negatively affect the temperature and humidity of your wine cellar. As with the walls, it is best to choose a material that is resistant to humidity and isn’t permeable or porous.
The most popular material for wine cellar floors is concrete as it naturally has the qualities needed in a wine cellar floor. Other common choices include stone, hardwood, porcelain, or cork.
When you lay your floor, make sure that the sealant you choose is compatible with the material and that the floor has dried out completely.
Concrete needs at least 28 days of curing before it is sealed and some tiles use adhesive that isn’t compatible with all sealants.
Step 8 – Install A Cooling System
Choosing the right cooling system for your space is of vital importance.
The longevity of your wine will depend entirely on how effective your cooling system is at maintaining the temperature and humidity level in your cellar so don’t be tempted to cut corners on this step.
You will need to consider the volume of your wine cellar and the regular temperature of the room.
If you live in a warmer climate, you will need a more powerful cooling system. Remember that some cooling systems need to be installed by qualified HVAC professionals.
Step 9 – Finishing Touches
To finish off your wine cellar, prime and paint your walls where necessary. You will also need to install some lighting that you can switch on and off while you are in the cellar as it should be naturally dark.
Finally, install your wine racks and fill them with wine!
Final Thoughts
In this article, we explained the steps you’ll need to take to build your own wine cellar in your home.
We gave several hints and tips throughout this article and explained all of the factors that you will need to take into consideration as you design and build your cellar.

I can offer you articles and information about wine from a seasoned sommelier, and now a winemaker too! I hope that you enjoy some of our articles, and start thinking outside of the box when it comes to wine.
- Why Does Wine Taste Better With Age? - June 14, 2023
- What Does It Mean When A Bottle Of Wine Is Corked? - June 14, 2023
- Wine Fridge Vs Wine Cellar – Which One Should You Choose? - June 14, 2023